|
|
Writing a Simple JavaBean |
The best way to build a bean is to start with a simple example. Start with the most basic possible bean, then add a property to it. First the basic bean:
Basic Bean (Acme01Bean)
This example is about as simple as an AWT component can get. It's not really a bean yet, though it could be added to the BeanBox and detected by the BeanBox menu. In other words, it could be used in a builder tool because of the default introspection mechanisms in the new JDK 1.1 classes. The new JDK makes any class that implements the serializeable interface into a minimal bean.import java.awt.*; import java.io.Serializable; public class Acme01Bean extends Canvas implements Serializable { public Acme01Bean() { setSize(60,40); } public void paint(Graphics g) { g.setColor(Color.blue); g.fillRect(20, 5, 20, 30); } }First of all, a bean must implement the
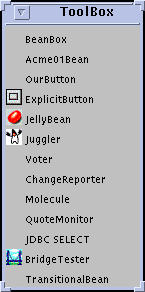
Serializableinterface. Objects that support this interface can save and restore their state from disk. Beans that have been customized (usually by editing their properties in builder tools) must be able to save and restore themselves on request. Normally, there is little you need to do other than declareSerializablein the class definition. Because most AWT objects in JDK 1.1 already know how to serialize themselves, there's generally nothing to do beyond the declaration. A possible exception is if your objects have an instance variable that needs to override its default behavior for serialization. For example a thread's execution state needs special handling. An example is given in a later lesson.When you drop this bean into the BeanBox, you'll see it appear on the palette of ToolBox components.

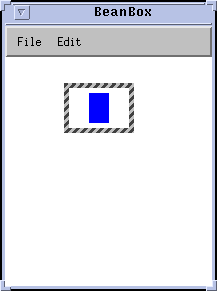
When the paint method is invoked by the builder tool (BeanBox in this case), all you see is a simple blue rectangle. The boxed area outside of the blue rectangle, merely indicates that this is the currently selected bean; it is not part of the image rendered by the bean itself.

This blue area represents not only what the end user sees when the bean is used in a application builder, but also represents the active area which will eventually respond to mouse down and mouse up events (You will see mouse events added in subsequent example programs).
|
|
Writing a Simple JavaBean |